
How to Clean Cat Ears Safely at Home: A Step-by-Step Care Guide
Maintaining proper hygiene is an essential part of keeping your feline companion healthy and comfortable. While cats are notoriously meticulous groomers, spending hours licking their fur, paws, and tail, they cannot reach inside their own ears. Knowing how to clean cat ears safely allows you to prevent wax buildup, spot early signs of discomfort, and maintain optimal ear health without causing your cat unnecessary stress. Feline ear anatomy is uniquely delicate, meaning that well-intentioned grooming routines can easily turn harmful if the wrong tools or harsh chemical solutions are used. Therefore, mastering the proper technique protects your furry friend from pain, trauma, and secondary bacterial infections.
Disclaimer: This article is for educational purposes only and does not replace professional veterinary care. If your cat shows signs of severe pain, balance issues, or a ruptured eardrum, contact a licensed veterinarian immediately.
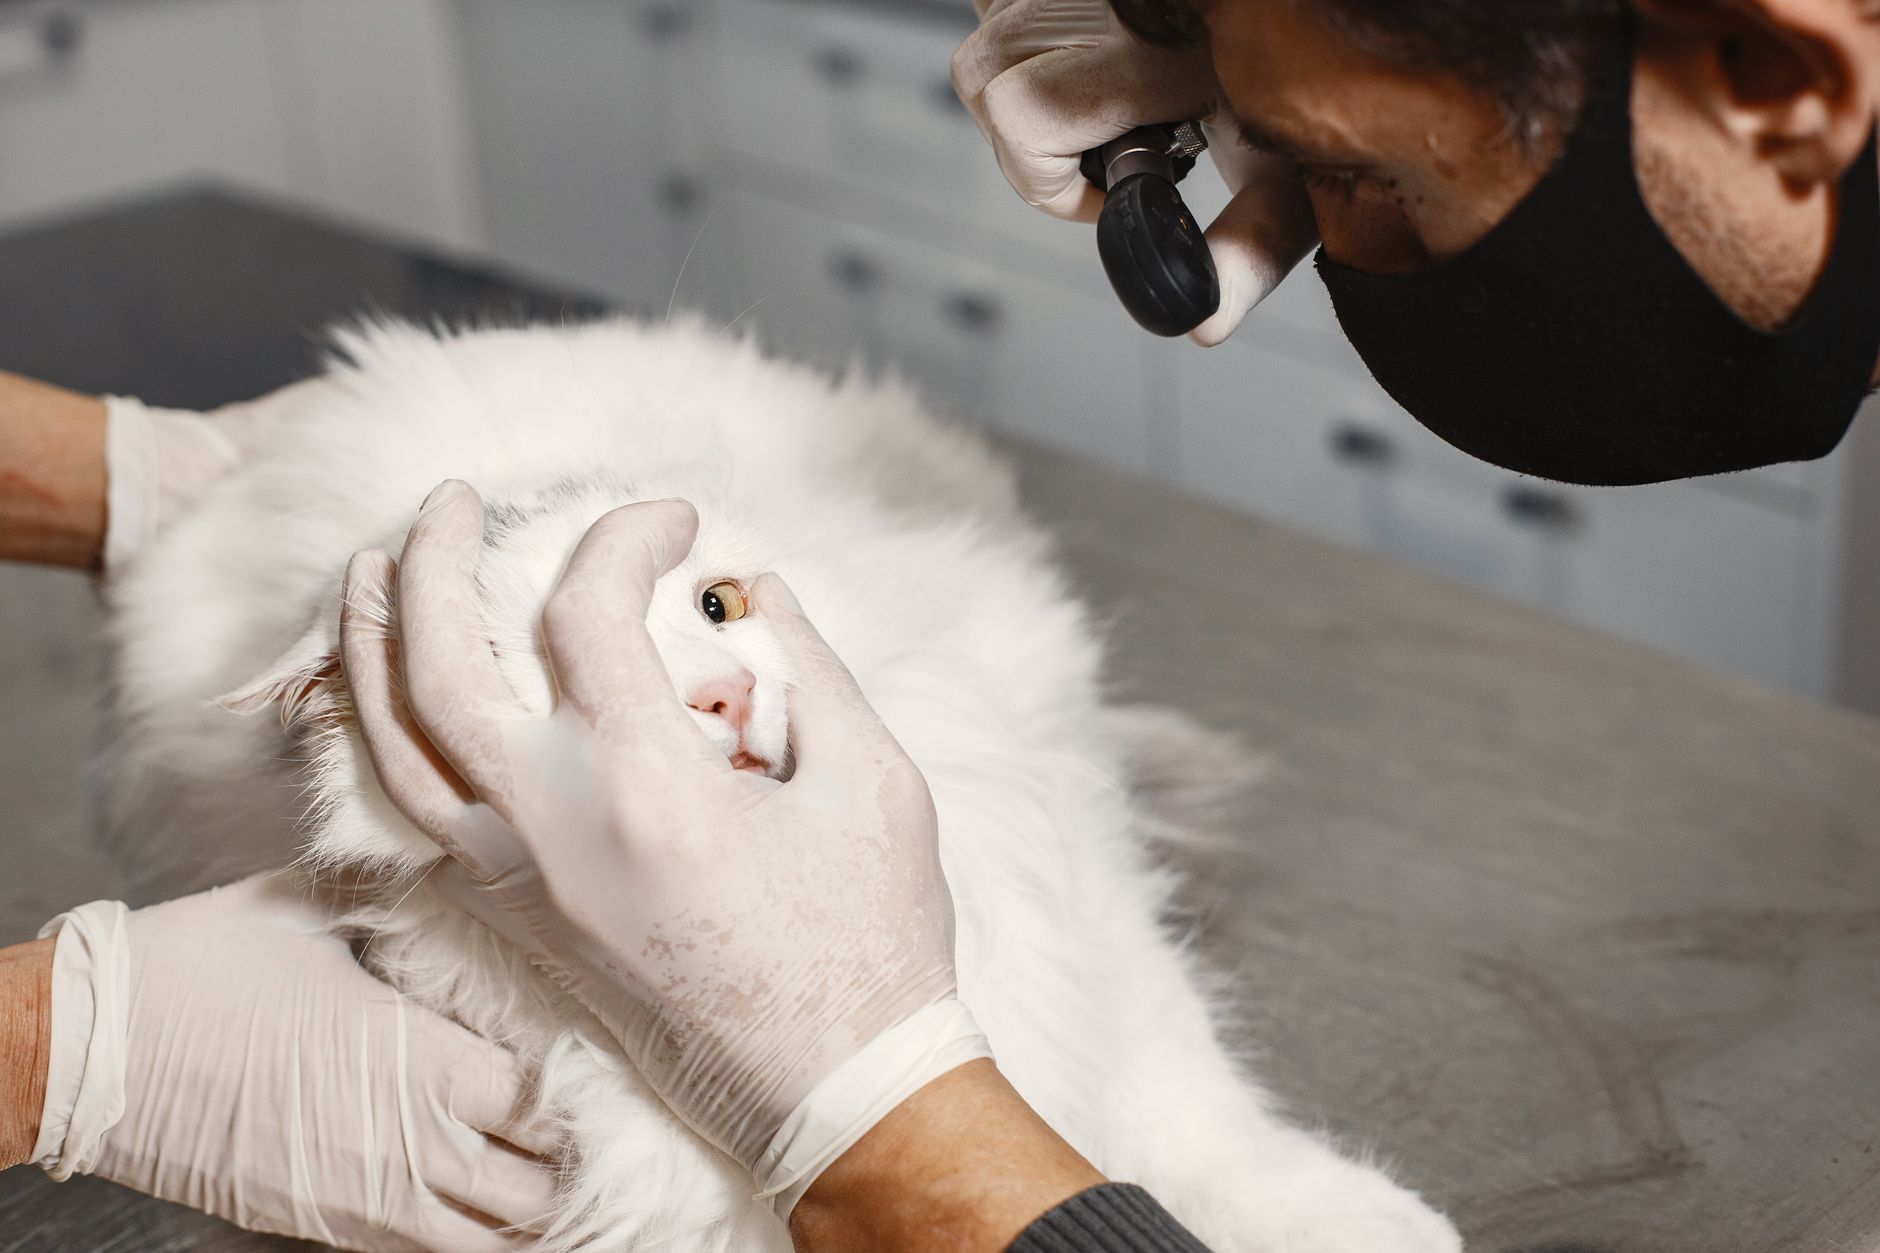
Understanding Normal Feline Ear Anatomy and Hygiene
Before grabbing cotton balls and cleaner, it helps to understand why your cat's ears function the way they do and how their unique anatomical design impacts hygiene. A cat's ear canal is distinctively L-shaped, consisting of a vertical canal that drops downward from the opening and a horizontal canal that leads directly inward to the eardrum. This specialized structure helps trap environmental debris, dust, and foreign particles before they can reach deep into the delicate inner ear. However, this same anatomical shape also means that any moisture, wax, or debris that enters can easily become trapped deep inside the bend if handled incorrectly or if over-cleaned.
Healthy cat ears should always appear pale pink, clean, and entirely free of strong, unpleasant odors. A very small amount of light brown or yellowish wax is completely normal; this wax acts as a natural barrier and self-cleaning mechanism for the ear canal. However, dark, crumbly, foul-smelling, or excessive discharge often points to underlying health issues such as ear mites, bacterial growth, yeast infections, or allergies. Most indoor cats with inherently healthy ears rarely require deep cleanings. Over-cleaning can actually disrupt the natural microbial balance, strip away protective oils, and irritate the sensitive epithelial lining of the ear canal, paving the way for opportunistic infections.
Furthermore, different cat breeds may have varying predispositions to ear issues. For instance, hairless breeds like the Sphynx produce excess oils and sebum across their entire skin surface, requiring frequent wiping of the outer ear flaps to prevent greasy buildup. Conversely, folded-ear breeds like the Scottish Fold have restricted ear canal ventilation, making them significantly more susceptible to moisture retention and subsequent yeast or bacterial proliferation. Understanding your specific cat's breed traits and individual lifestyle helps you tailor a safe, effective grooming and health maintenance routine.
When Is It Necessary to Clean Your Cat's Ears?
Routine physical inspections are far more important than routine cleanings. You should make it a habit to inspect your cat's ears weekly during regular grooming sessions, checking both the visible outer ear flap and the entrance to the ear canal. However, you should only perform an active liquid cleaning if you notice mild, safe-to-clean wax accumulation, or if your veterinarian has specifically prescribed a targeted ear-cleaning regimen as part of a broader therapeutic treatment plan for an infection or allergy.
Pay exceptionally close attention to subtle changes in your cat's daily behavior, body language, and grooming habits. If you notice your feline shaking their head repeatedly, scratching frantically at the base of their ears, rubbing their head against furniture, or holding one ear tilted downward at an odd angle, it is time for a much closer inspection. For tracking overall wellness milestones, vaccination schedules, and ongoing care routines, you can use our Pet Grooming Planner to stay organized and proactive.
It is also vital to distinguish between a healthy ear needing light maintenance and an unhealthy ear requiring veterinary intervention. Mildly dusty outer ears can be gently wiped with a dry or slightly dampened cloth, whereas sticky, dark brown, or yellow discharge demands a veterinary diagnosis. Never attempt to flush an ear if you suspect an active infection, significant inflammation, or a perforated eardrum, as introducing fluids under these conditions can cause excruciating pain and permanent neurological or auditory damage.
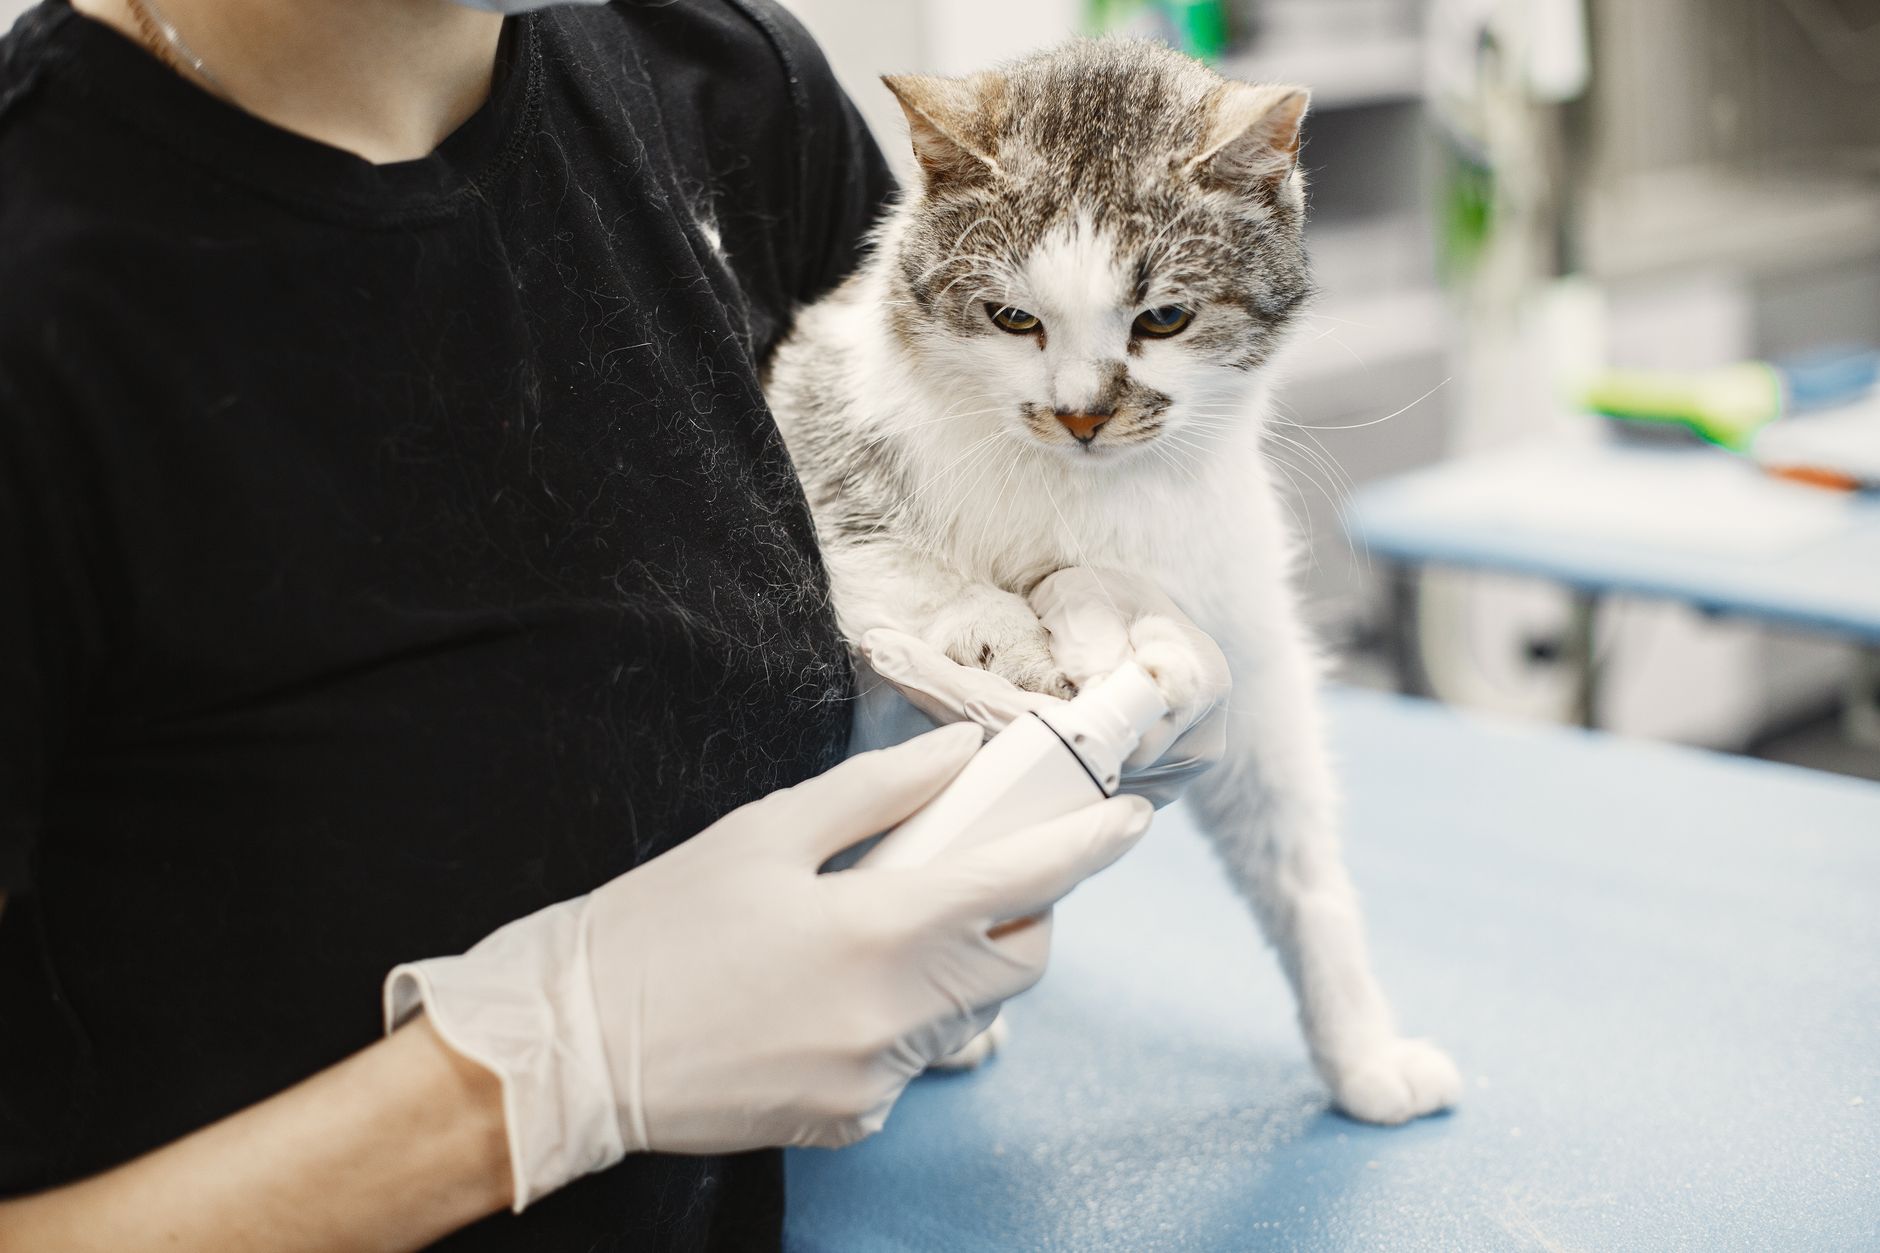
Essential Supplies for Safe Cat Ear Cleaning
Using the right tools and products ensures the entire cleaning process is gentle, fast, and completely safe for your pet. Never improvise with hazardous household items like metal hairpins, car keys, sewing needles, or standard cotton-tipped plastic swabs, as these can easily cause severe physical trauma.
- Veterinary-Approved Ear Cleaning Solution: Choose a gentle, veterinary-formulated, pH-balanced liquid cleaner designed specifically for felines. Never use rubbing alcohol, hydrogen peroxide, white vinegar, or homemade soap solutions, as these chemicals cause intense burning, drying, and severe damage to delicate ear tissue.
- Cotton Balls or Soft Gauze Squares: These high-absorbency pads are used to gently wipe away loosened wax and debris from the outer ear flap and the upper canal opening without shedding fibers.
- A Towel or Small Blanket: Extremely useful for wrapping your cat securely if they tend to squirm, wiggle, or panic during grooming tasks, protecting both you and your cat.
- High-Value Treats: Rewarding your cat immediately afterward with freeze-dried meat or a favorite lickable treat builds positive psychological associations with the grooming routine.
- Good Lighting and a Quiet Space: Ensuring you can clearly see inside the ear canal without shadows prevents accidental slips or misjudgments during the cleaning process.
Step-by-Step Guide: How to Clean Cat Ears Safely
Preparation, patience, and a calm demeanor are your best tools when working with domestic felines. Pick a quiet time of day when your cat is naturally relaxed—perhaps right after a long nap or a satisfying meal when their energy levels are low. Avoid attempting this grooming procedure when your cat is hyperactive, stressed, or distracted by loud household noises.
Step 1: Create a Calm Environment and Position Your Cat
Find a well-lit flat surface, such as a kitchen counter with a non-slip mat, or sit comfortably in an armchair with your cat resting securely in your lap. If your cat is wiggly or nervous, wrap them snugly in a soft towel with their head exposed and their paws tucked safely inside—a technique affectionately known as the "purrito." This keeps their sharp claws safely contained while keeping them securely braced against your body, reducing sudden erratic movements.
Step 2: Inspect the Ear Flap and Canal Opening
Gently fold back the pinna (the outer ear flap) to closely inspect the opening of the ear canal and the surrounding skin. Look for signs of redness, localized swelling, heavy black debris, flaky skin, or foul, yeasty odors. If you suspect an active infection, see pus, or notice signs of extreme tenderness when the area is lightly touched, stop immediately and schedule a professional veterinary evaluation.
Step 3: Apply the Veterinary Ear Cleaning Solution
Hold the bottle of ear cleanser close to the ear canal opening—carefully avoiding inserting the nozzle directly inside the canal. Squeeze the recommended number of drops into the ear according to the product instructions or your veterinarian's guidance. Be extremely careful not to touch the tip of the plastic bottle directly to your cat's ear tissue, skin, or existing debris, as this can easily transfer bacteria, yeast, and spores right back into the clean solution bottle.
Step 4: Massage the Base of the Ear
Immediately after instilling the liquid drops, gently massage the base of the ear (the lower cartilaginous part of the ear canal located right below the ear opening) in a gentle circular motion for about 20 to 30 seconds. You should hear a distinct squishing or sloshing sound as the liquid formula breaks up stubborn wax, oils, and cellular debris lodged deep within the vertical canal. Most cats actually find this massage soothing if pressure is applied softly and evenly.
Step 5: Let Your Cat Shake Their Head
Step back slightly and allow your cat to step back and shake their head naturally. This instinctive head-shaking reflex is actually highly beneficial because centrifugal force naturally drives the loosened wax, dissolved debris, and excess liquid up from the horizontal bend into the outer ear opening, making it exceptionally easy to wipe away cleanly.
Step 6: Wipe Away Debris Gently
Take a clean cotton ball or a piece of soft, lint-free gauze moistened with a few drops of ear cleaner, and carefully wipe out the mobilized debris from the inner ear flap and the visible parts of the upper canal. Never push cotton balls, fingers, or any other objects deep into the ear canal, as this action packs wax tightly against the eardrum and risks permanent injury.
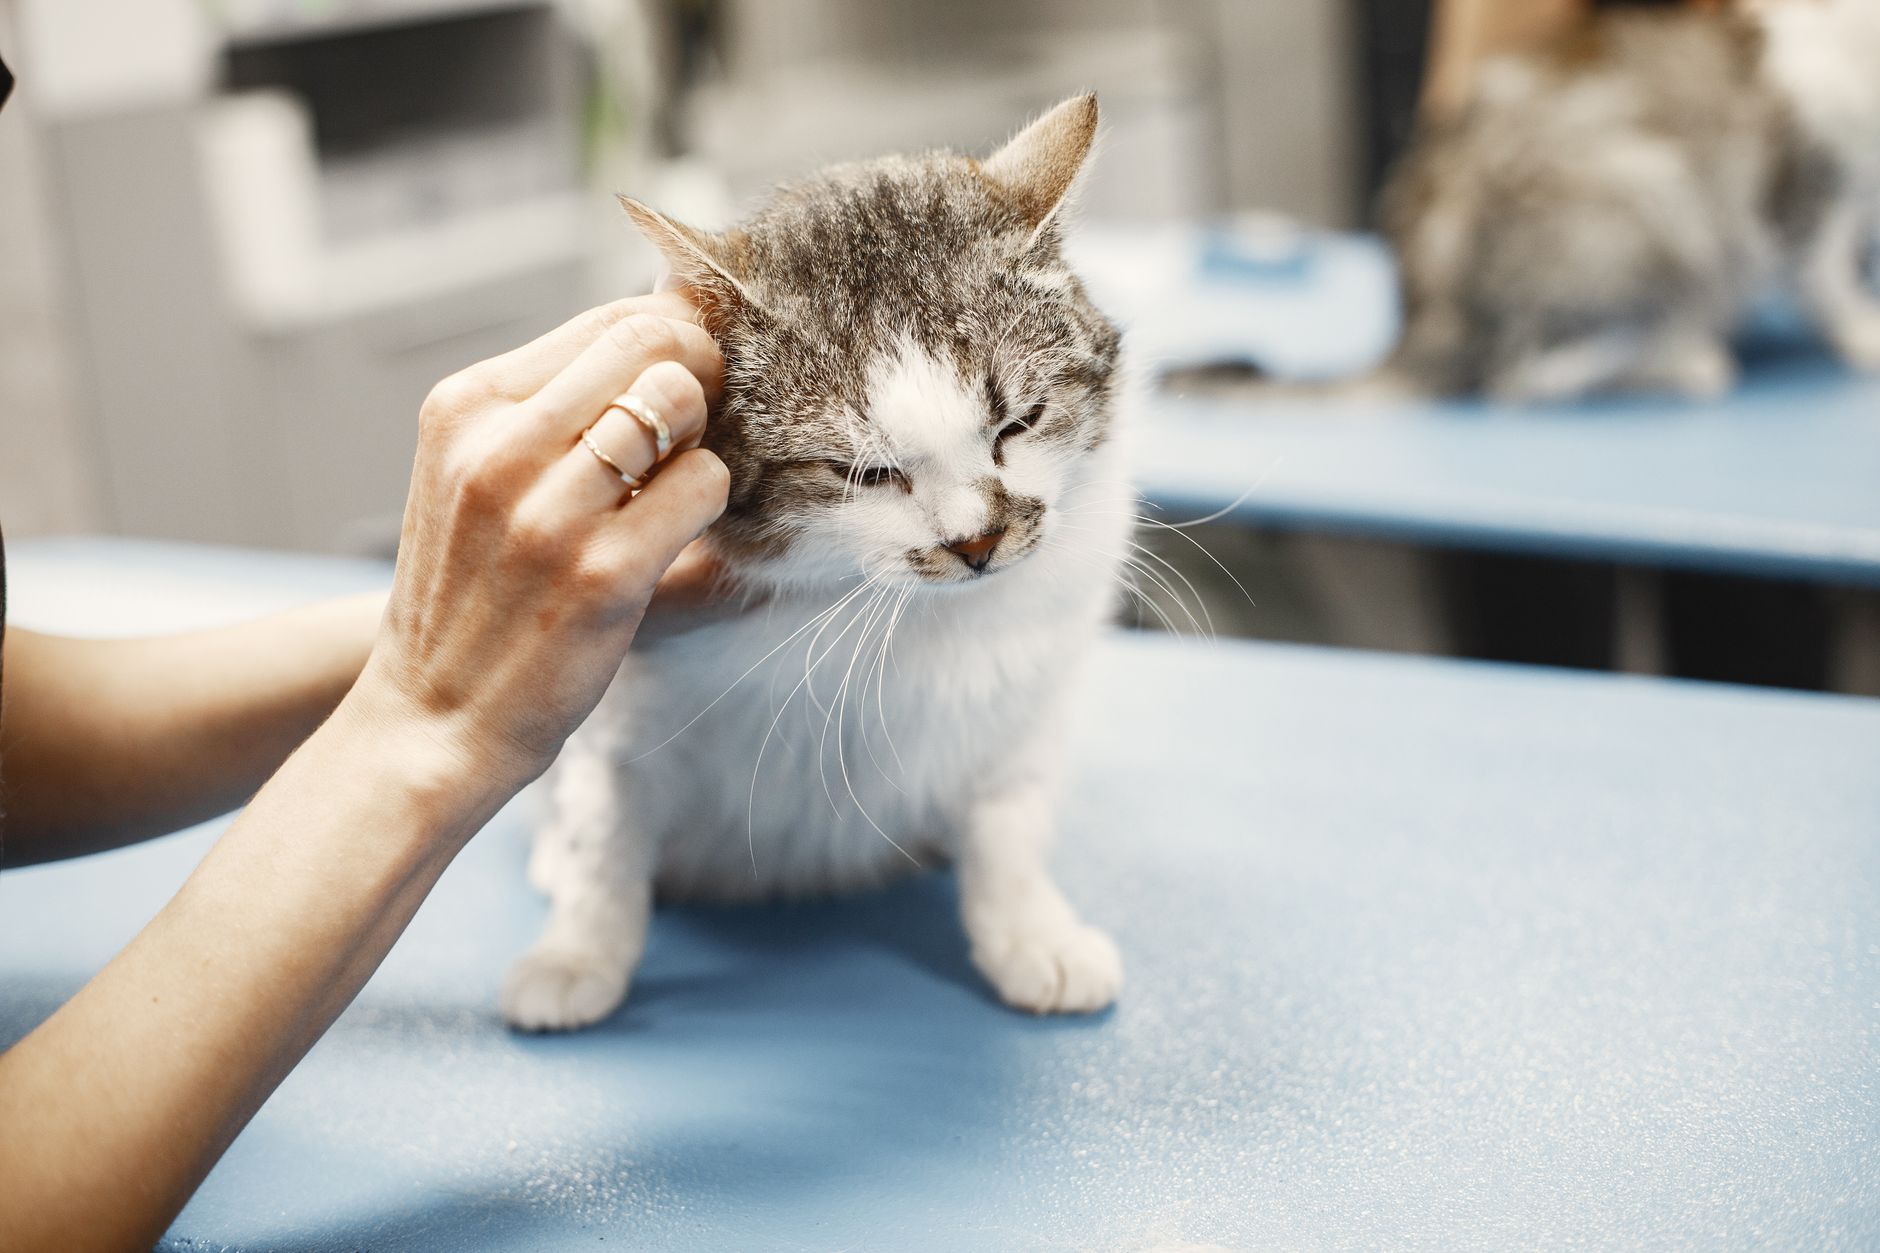
Critical Mistakes to Avoid During Ear Maintenance
Even well-meaning pet parents can occasionally make avoidable mistakes that compromise feline ear health, cause unnecessary pain, or trigger behavioral aversion to grooming. Keep these critical caveats firmly in mind:
- Never use cotton-tipped swabs (Q-tips) inside the ear canal: A sudden start or jerk from your cat can easily push the swab too far, puncturing the delicate eardrum or packing ear wax into a dense plug against the auditory structures.
- Avoid harsh chemical or homemade cleaners: Human shampoos, essential oils, vinegar mixtures, and rubbing alcohol cause intense irritation, burning, and severe chemical dermatitis inside a cat's sensitive ear canal.
- Do not clean infected ears without veterinary guidance: If an eardrum is ruptured or ulcerated, dropping liquid cleaners into the middle ear can cause severe neurological deficits, vestibular disease, loss of balance, or permanent deafness.
- Never force a terrified or aggressive cat: If your cat becomes overly aggressive, hisses, or experiences hyper-stress, pause the cleaning session immediately. Forcing the issue creates lifelong fear and makes future handling nearly impossible.
- Neglecting post-cleaning drying: Leaving excessive cleaning solution pooled in the ear canal creates a moist breeding ground for bacteria and yeast, so always blot the outer canal dry with clean gauze.
Preventative Care and Ear Mite Management
Preventing ear problems before they start is far easier and less stressful than treating advanced infections. For indoor cats, maintaining a clean living environment, vacuuming regularly, and washing cat bedding frequently helps reduce dust, allergens, and potential ectoparasites. If your cat interacts with other pets that go outdoors, routine preventative medications prescribed by your veterinarian are essential for warding off highly contagious parasites like ear mites (Otodectes cynotis).
Ear mites are microscopic parasites that live on the surface of the ear canal skin, feeding on epidermal debris, oils, and tissue fluids. They cause intense itching, inflammation, and produce a characteristic dry, dark, crumbly discharge that closely resembles coffee grounds. Because ear mites are highly contagious among household pets (spreading easily between cats and dogs), treating all animals in the household simultaneously is mandatory to eliminate the infestation completely. Regular grooming routines and bi-weekly ear inspections catch these tiny invaders long before they cause severe secondary skin infections or severe aural hematomas from excessive scratching.
When to Seek Professional Veterinary Help
Certain clinical symptoms require immediate professional veterinary diagnosis and prescription medical treatment rather than routine home care or cleaning. If you notice any of the following warning signs, schedule an urgent veterinary appointment:
- Persistent, foul-smelling discharge that appears bright yellow, green, thick, purulent, or blood-tinged.
- Severe localized swelling, intense redness, raw excoriations, or noticeable heat radiating from the outer ear and pinna.
- A distinct head tilt toward one side, loss of balance, stumbling, falling over, or unusual neurological disorientation and nystagmus.
- Continuous crying, vocalizing, frantic scratching, or violent pawing at the ear indicating severe, unremitting pain.
- Crusty scabs, hair loss, thickened skin folds, or scaling sores around the outer ear margins and base of the skull.
If your cat requires ongoing monitoring of prescribed ear drops, oral medications, or scheduled veterinary check-ups, tools like our Pet Medication Reminder Planner can help you keep track of healing timelines, dosage schedules, and veterinary follow-up dates.
Frequently Asked Questions
How often should I clean my indoor cat's ears?
Healthy indoor cats generally do not need routine or frequent ear cleanings. You should only clean them if your veterinarian specifically recommends it as part of a treatment plan or if you notice mild wax accumulation during your weekly wellness checks.
Can I use human baby oil or olive oil to clean my cat's ears?
No. While oils can sometimes soften hardened wax, they leave a heavy, oily residue inside the canal that attracts dirt, dust, and debris, actively promoting bacterial or yeast growth. Always use a veterinary-approved, fast-evaporating ear cleanser.
What causes black buildup inside a cat's ears?
Dark, coffee-ground-like black buildup is a classic clinical indicator of ear mites, a common and highly contagious parasitic infection. It can also signify a severe yeast or fungal infection. A veterinarian must examine a swab sample under a microscope to confirm the exact root cause.
Why does my cat growl or swipe when I touch their ears?
Growling, hissing, or pulling away strongly indicates that your cat is experiencing pain, tenderness, or extreme hypersensitivity. This behavior often signals an active ear infection, trauma, or heavy inflammation. Do not force cleaning; seek professional veterinary advice.
Is it safe to put cotton swabs inside a cat's ear canal?
No. Standard cotton-tipped swabs should never be inserted into the ear canal. They only push wax and debris deeper toward the eardrum and carry a high risk of puncturing the delicate eardrum if your cat moves unexpectedly.
How can I calm my cat if they hate having their ears touched?
Desensitize your cat gradually by touching their ears gently during relaxed cuddle sessions for just a few seconds at a time, followed immediately by a high-value tasty treat. Build up their tolerance slowly over several days or weeks before attempting a full liquid cleaning.
Are certain cat breeds more prone to ear problems?
Yes. Breeds with folded ears (like Scottish Folds) or hairless skin (like Sphynx cats) require much more frequent monitoring and specialized maintenance compared to standard domestic shorthair cats due to ventilation limitations and high oil production.
Helpful PawPrintHub Tools
To support your cat's overall lifestyle, daily health tracking, and wellness routine, explore our interactive pet care resources:
Conclusion
Knowing how to clean cat ears safely is an invaluable, practical skill for any responsible pet parent. By keeping grooming sessions calm, using the right veterinary-approved products, avoiding dangerous tools like cotton-tipped swabs, and recognizing when professional veterinary intervention is required, you ensure your feline companion stays comfortable, healthy, and happy. Regular weekly physical checks combined with gentle, patient handling will keep your indoor cat's ears clean, fresh, and entirely free from irritation for years to come. Investing time in proper preventative care ultimately strengthens the bond between you and your cat while safeguarding their long-term sensory health.
Support free pet guides and tools.
Buy Me a Coffee
Comments
Post a Comment