
How to Clean a Dog's Ears at Home Safely: A Step-by-Step Guide
For many dog owners, grooming routines often begin and end with a quick brush and an occasional bath. However, maintaining your canine companion's ear hygiene is a vital aspect of their overall health that is frequently overlooked. Learning how to clean a dog's ears at home safely not only prevents uncomfortable infections but also deepens the bond of trust between you and your pet. Because a dog's ear canal is structured differently than a human's, performing this task incorrectly can lead to pain or even permanent damage. This guide will walk you through the entire process, ensuring you can manage your dog's ear care with confidence and ease.
Educational Disclaimer: The information contained in this article is for educational and informational purposes only. It does not constitute professional veterinary advice, diagnosis, or treatment. Always consult your veterinarian if you suspect your dog has an active ear infection or any other medical condition.
Understanding the Unique Anatomy of Dog Ears
To appreciate the importance of safe ear care, it helps to understand why dogs are so prone to ear issues in the first place. Unlike the human ear canal, which goes straight in, a dog’s ear canal is shaped like an "L." It has a vertical component that drops down from the outer ear, followed by a sharp, horizontal turn that leads directly to the delicate eardrum.
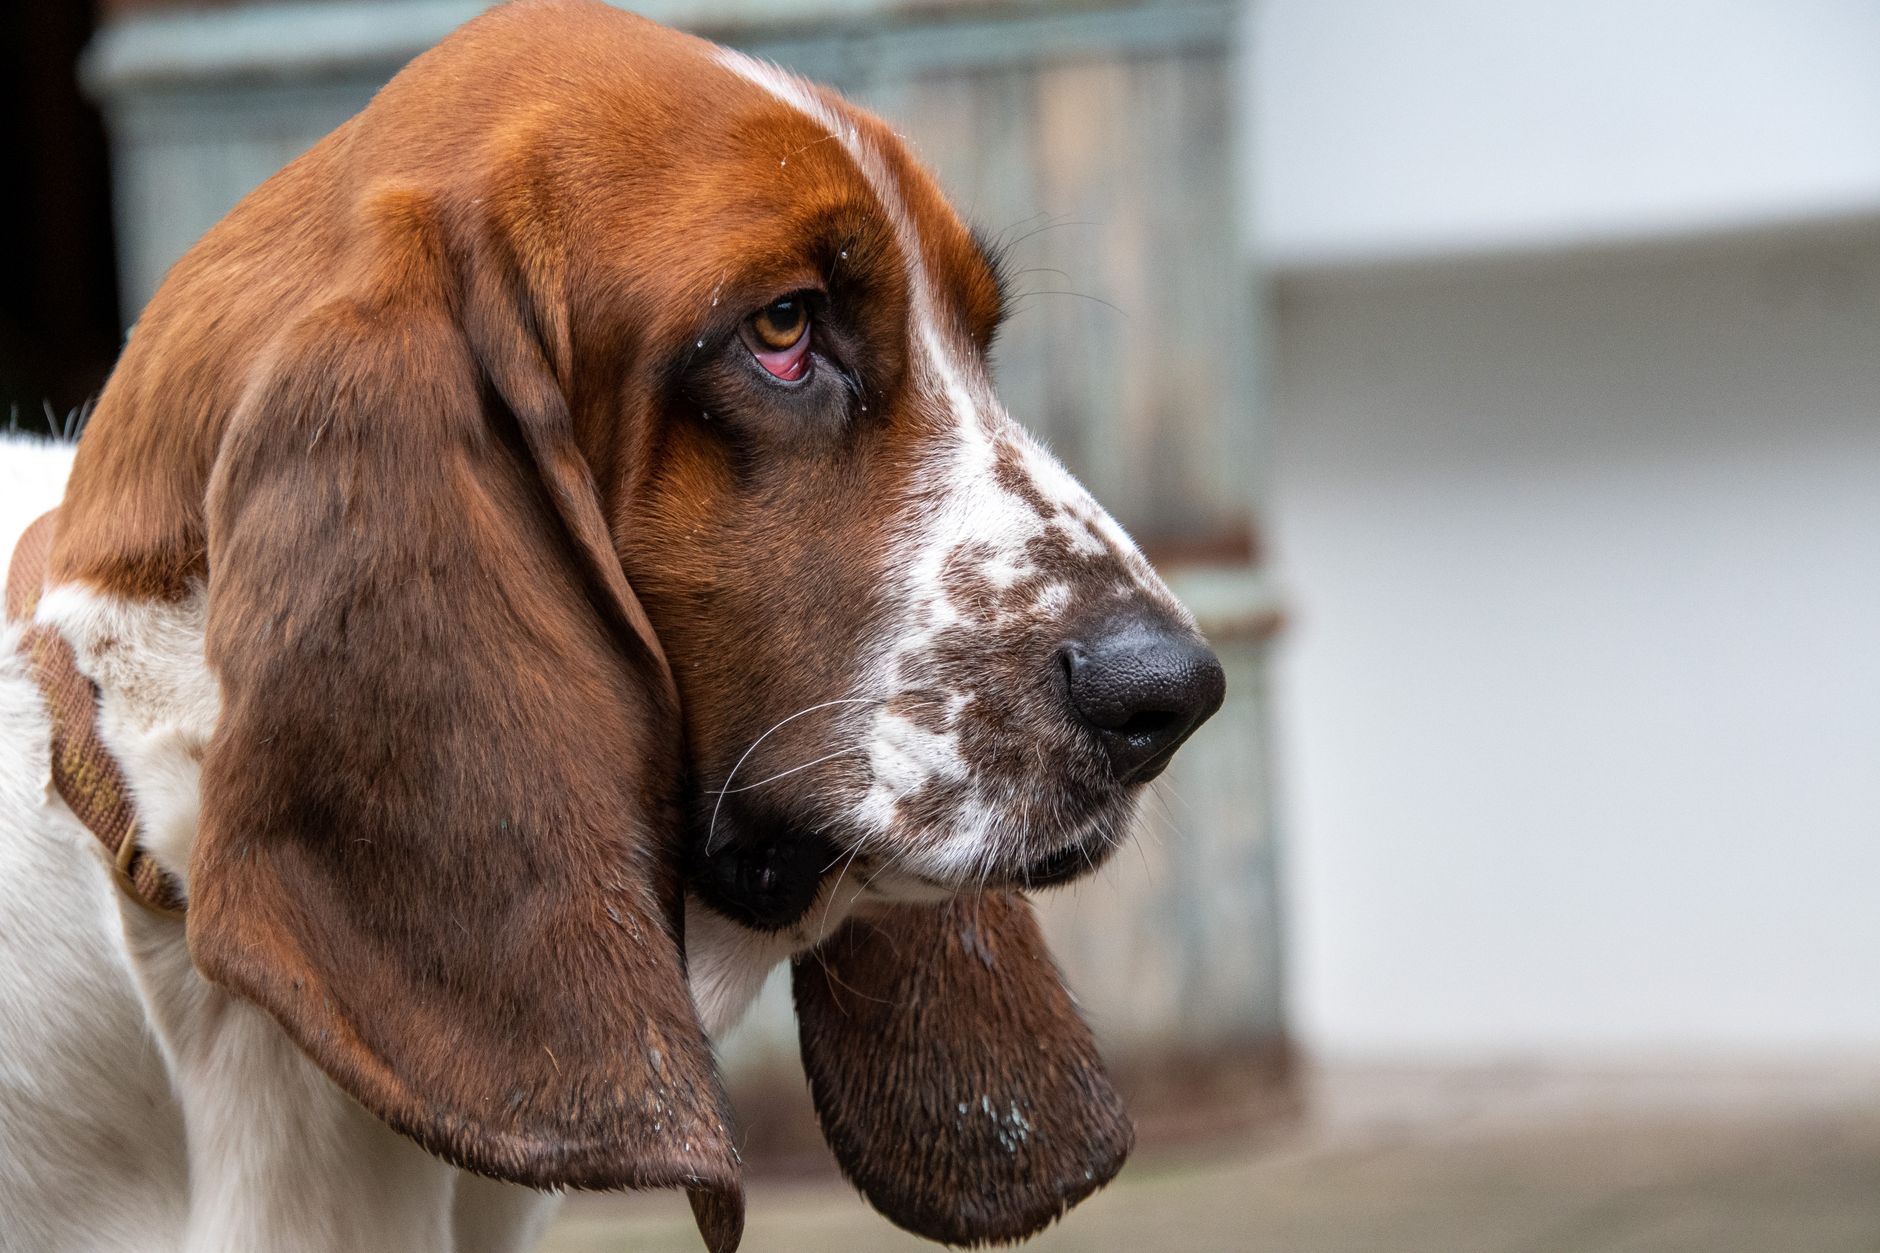
This L-shaped anatomy is highly efficient at trapping moisture, dirt, wax, and debris. Once debris gets lodged in the horizontal canal, it is incredibly difficult for the dog to shake it out naturally. This warm, dark, and moist environment becomes the perfect breeding ground for yeast and bacteria. Breeds with long, droopy ears—such as Basset Hounds, Cocker Spaniels, and Golden Retrievers—are particularly vulnerable because their heavy ear flaps block airflow, further sealing in moisture.
When Do Your Dog's Ears Need Cleaning?
Before grabbing your cleaning supplies, it is essential to assess whether your dog actually needs an ear cleaning. Over-cleaning can strip the ear canal of its natural, protective oils, leading to dryness, irritation, and secondary infections. Healthy dog ears are typically pale pink, odorless, free of heavy debris, and not painful to the touch.
If you are wondering how often should I clean my dog's ears, the general rule of thumb is once a month for dogs with healthy, erect ears. However, dogs that swim frequently, have chronic allergies, or possess long, floppy ears may require weekly cleanings. To keep a close eye on your dog's overall physical wellness, including skin and coat health, you can use the Pet Health Checker as part of your weekly home-check routine.
Signs of an Active Ear Infection: When to See a Vet
Never attempt to clean your dog's ears if they are showing active symptoms of dog ear infection. Cleaning an already inflamed or infected ear can cause excruciating pain and can push harmful bacteria deeper into the inner ear if the eardrum is ruptured. If you notice any of the following warning signs, skip the cleaning and schedule an appointment with your veterinarian immediately:
- Strong, yeasty, or sweet odor emanating from the ear.
- Excessive scratching, pawing, or rubbing of the ears against the floor or furniture.
- Frequent head shaking or holding the head tilted to one side.
- Extreme redness, swelling, or heat inside the ear flap.
- A significant buildup of dark brown discharge in dog ears, which often resembles coffee grounds.
- Whining, growling, or flinching when you touch their head or ears.
Additionally, look out for signs of ear mites in dogs, which are microscopic parasites that cause intense itching and produce a characteristic dry, black, crumbly discharge. Your vet will need to perform an otoscopic exam and look at a swab sample under a microscope to prescribe the correct medicated drops.
Gathering the Right Supplies: Do's and Don'ts
Using the proper tools is critical when learning the best way to clean dog ears. Having everything prepared beforehand will keep the process smooth and stress-free for both you and your pup. If you are budgeting for your dog's grooming essentials, utilizing a Pet Cost Calculator can help you track your monthly pet care expenses accurately.
What to Use:
- A High-Quality, Vet-Approved Ear Cleaner: Look for a gentle, non-irritating liquid cleaner formulated specifically for dogs. These often contain drying agents (like salicylic acid) to help evaporate residual moisture.
- Cotton Balls or Gauze Pads: These are ideal for wiping away loosened debris from the outer ear flap and the opening of the canal.
- A Clean Towel: To catch any flying debris when your dog shakes their head.
- High-Value Treats: Essential for rewarding your dog and creating positive associations with ear grooming.
What to Avoid:
- Cotton Swabs (Q-tips): If you are wondering, can you use cotton swabs on dogs ears, the answer is a definitive no. While you can use them to clean the tiny crevices of the outer ear flap (pinna), you must never insert them into the ear canal. Doing so acts like a plunger, packing wax and debris deeper into the horizontal canal and risking a punctured eardrum.
- Alcohol or Hydrogen Peroxide: Avoid searching for a homemade dog ear cleaning solution recipe that includes these harsh ingredients. They cause severe stinging, dry out the delicate tissue, and can lead to painful chemical burns inside an already sensitive ear. Stick to commercially prepared veterinary formulas or consult your vet for safe dog ear cleaner alternatives.
Your Step-by-Step Guide on How to Clean a Dog's Ears at Home Safely
Once you have gathered your supplies and confirmed your dog's ears are free of active infection, it is time to proceed. Follow this clear, step by step dog ear cleaning guide to ensure a safe and comfortable experience.
Step 1: Set Up a Calm Environment
Choose a quiet area of your home with easy-to-clean floors, such as a bathroom, kitchen, or tiled patio. Ear cleaning can get messy, especially when your dog shakes their head. If your dog is large, sit on the floor behind them. For smaller dogs, placing them on a secure counter or table with a non-slip mat works best. Keep your treats within arm's reach.
Step 2: Inspect and Prepare
Gently lift your dog's ear flap and inspect the area. If your dog has very hairy ears, you may need to gently trim the excess hair around the entrance of the canal to improve airflow and access. Speak to your dog in a calm, soothing voice, and offer a small treat to build trust.
Step 3: Fill the Ear Canal with Solution
Hold the ear flap upward to straighten out the vertical canal. Place the tip of the ear cleaner bottle just over the opening of the canal. Do not insert the tip of the bottle directly into the ear. Squeeze the bottle firmly to fill the ear canal with the liquid solution. You want enough liquid to completely fill the canal, but avoid letting the tip touch the ear to prevent bacterial contamination of the bottle.
Step 4: Massage the Base of the Ear
While still holding the ear flap up, immediately lower your hand to the base of the ear (just below the opening, where you can feel the firm cartilage of the canal). Massage this area gently for about 20 to 30 seconds. You should hear a distinct, wet "squishing" sound. This action breaks up the stubborn wax and debris lodged deep within the horizontal canal, floating it up to the surface.
Step 5: Let Your Dog Shake
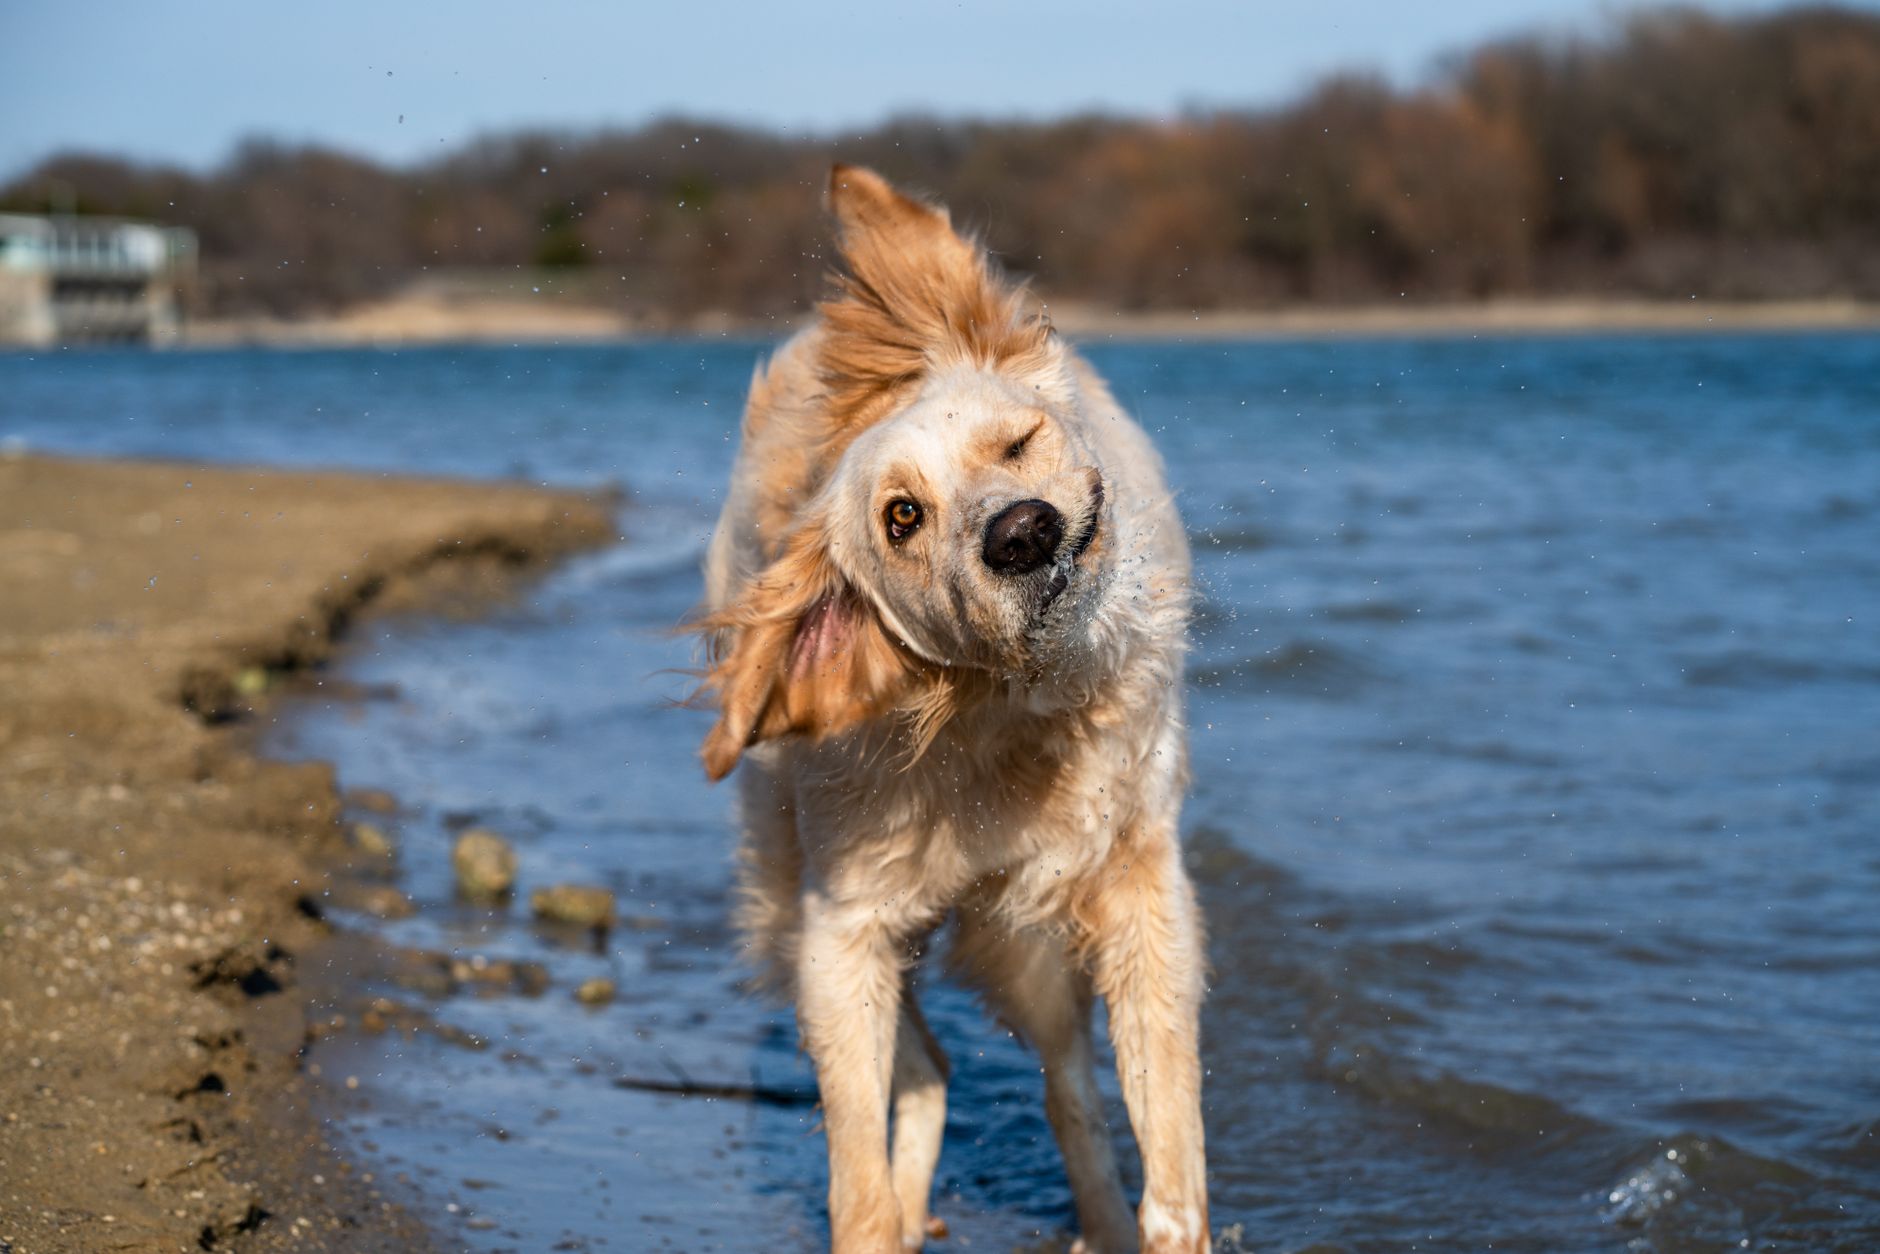
Release your hold on the ear and step back slightly. Your dog's natural instinct will be to shake their head vigorously. Encourage this! A dog shaking head after ear cleaning is a critical part of the process, as the centrifugal force flings the loosened wax and excess liquid out of the deep canal and into the outer ear.
Step 6: Wipe Away the Debris
Take a clean cotton ball or gauze pad wrapped around your index finger. Gently wipe the outer ear flap and the visible entrance of the ear canal to remove the dislodged wax and dirt. Only wipe as deep as your finger can easily reach. Never force your finger or a cotton pad deep into the canal. If the cotton ball comes away very dirty, repeat the wiping process with a fresh pad until it comes away clean.
Step 7: Reward and Repeat
Praise your dog enthusiastically and offer a high-value treat. Once they are calm, repeat the exact same steps on the opposite ear. If your dog has dietary restrictions or food allergies that might contribute to chronic ear inflammation, you can use our Pet Food Calculator to ensure they are getting a balanced, hypoallergenic diet that supports healthy skin and ears.
Special Considerations: Floppy Ears and Swimming
Different breeds require tailored approaches to ear hygiene. When dealing with cleaning floppy dog ears, remember that the lack of airflow means these ears dry much slower. After cleaning, keep the ear flaps folded back over your dog's head for 5 to 10 minutes to allow the canals to air-dry completely.
Similarly, water from swimming or baths is a primary cause of otitis externa (swimmer's ear). Knowing how to dry dog ears after swimming is crucial. Always use a dry cotton ball to gently wipe the inside of the ear flap immediately after your dog leaves the water. If your dog is highly prone to water retention, consult your vet about using a specialized drying solution after every swim session.
What to Do If Your Dog Hates Ear Cleaning
It is not uncommon for dogs to dislike having liquid squirted into their ears. If you are struggling with what to do if dog hates ear cleaning, the key is slow desensitization. Do not force the issue, as this can lead to fear-biting or severe anxiety.
Start by touching your dog’s ears without any tools, followed by a treat. Gradually progress to touching their ears with a cotton ball, then showing them the bottle, and eventually squeezing a drop of the warm solution onto their outer ear flap. This process can take several days or weeks. If your dog remains highly resistant, consult a professional positive-reinforcement trainer or ask your vet about mild sedatives or in-clinic cleanings to keep the experience safe for everyone.
Conclusion
Mastering the art of how to clean a dog's ears at home safely is an invaluable skill for any pet parent. By understanding your dog's unique anatomy, using the correct vet-approved supplies, and following a gentle, step-by-step approach, you can easily prevent painful infections and maintain your dog's long-term comfort. Remember to monitor their ears regularly, avoid dangerous tools like cotton swabs, and always prioritize positive reinforcement. With patience and consistency, ear cleaning will transition from a dreaded chore into a seamless, rewarding part of your dog's health routine.
Helpful PawPrintHub Tools
- Pet Health Checker – Assess your dog's overall physical condition and skin health.
- Pet Cost Calculator – Budget for grooming supplies, ear cleaners, and veterinary care.
- Pet Food Calculator – Manage your dog's diet to prevent allergy-induced ear issues.
Frequently Asked Questions
Can I use baby wipes to clean my dog's ears?
While baby wipes can be used to gently clean the very outer surface of the ear flap (pinna), they should never be inserted into the ear canal. They do not contain the correct ingredients to break down earwax, and they cannot reach the deep horizontal canal where debris accumulates. Always use a liquid, vet-approved ear cleaner for the actual canal.
Why does my dog's ear cleaner smell like vinegar?
Some commercial ear cleaners contain acetic acid (which is found in vinegar) because of its natural antibacterial and antifungal properties. However, you should never make a DIY vinegar solution at home, as the concentration of acid in household vinegar can cause severe burning and irritation if your dog's ear canal is inflamed or has a micro-tear.
How can I tell if my dog's eardrum is ruptured?
A ruptured eardrum can only be diagnosed by a veterinarian using an otoscope. Symptoms of a ruptured eardrum include sudden hearing loss, severe pain, loss of balance, walking in circles, or rapid, involuntary eye movements (nystagmus). If you notice these neurological symptoms, do not put any liquid in the ear and see a vet immediately.
Is it normal for a dog's ears to be red after cleaning?
A very mild, temporary pinkness can occur immediately after cleaning due to the physical massage and wiping. However, if the ears remain bright red, warm to the touch, or if your dog seems to be in pain hours after the cleaning, it could indicate an allergic reaction to the cleaning solution or an underlying infection that requires veterinary treatment.
Can food allergies cause dirty dog ears?
Yes, chronic ear infections and excessive wax buildup are incredibly common symptoms of food allergies or environmental sensitivities in dogs. The allergic reaction causes inflammation in the skin lining the ear canal, which leads to an overproduction of wax and creates an ideal environment for yeast to multiply. Managing their diet can significantly reduce ear issues.
Support free pet guides and tools.
Buy Me a Coffee
Comments
Post a Comment